| |
| |
|
|
|
| |
|
| Panoramic
Gallery |
|
Please
note: These panoramic images are intended to be viewed at their best, displayed
on high resolution, widescreen monitors |
 |
||
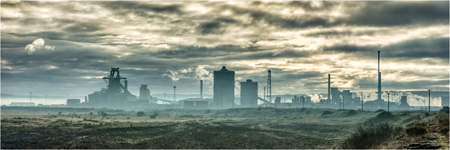
| Glenfinnan Viaduct | Redundant Redcar Steelworks |
|
 |
 |
|
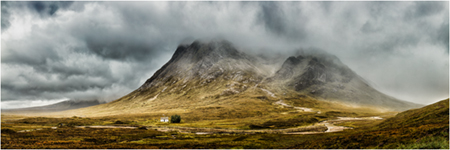
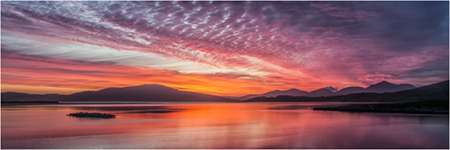
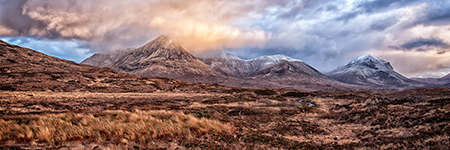
| Glen Coe | Lyskentyre Bay Gloaming |
|
 |
 |
|
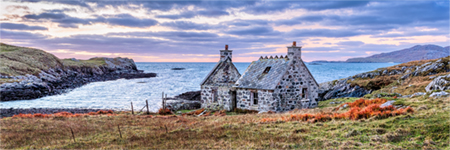
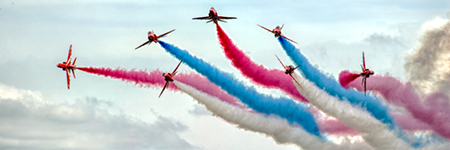
| Abandoned Cottage, Vatersay | Red Arrows 7 breaking Formation |
|
 |
 |
|
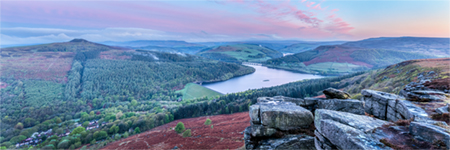
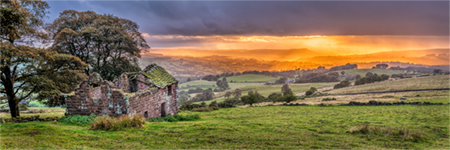
| Ladybower Reservoir at Dawn | Roachend Barn at Sunset | |
 |
 |
|
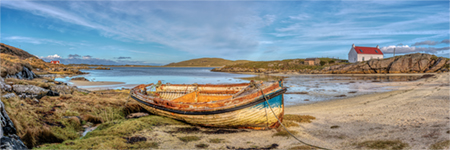
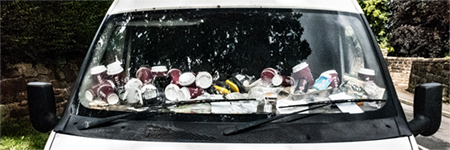
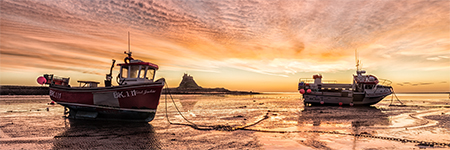
| The Old Fishing Boat, Cockle Strand, Isle of Barra. | White Van Man's Obstructed View | |
 |
 |
|
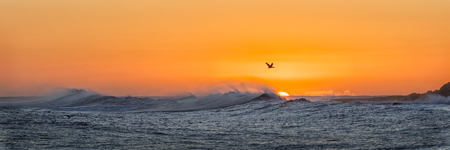
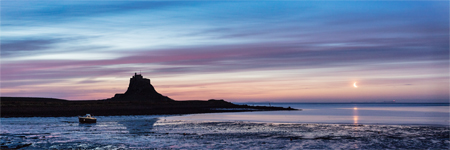
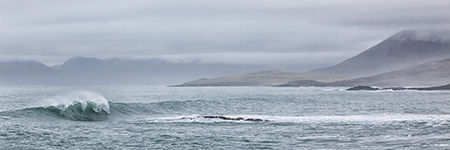
| Sunrise Roller | Moonlit Dawn at Lindisfarne | |
 |
 |
|
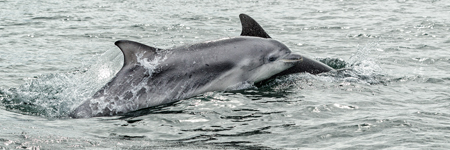
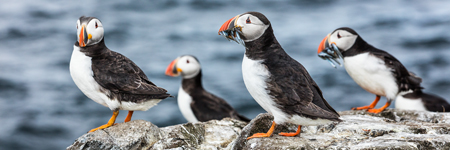
| Bottlenose Dolphins | Puffins with Sand Eels | |
 |
 |
|
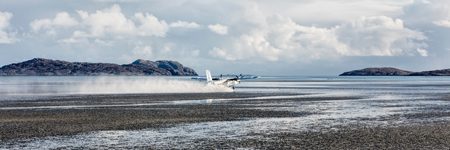
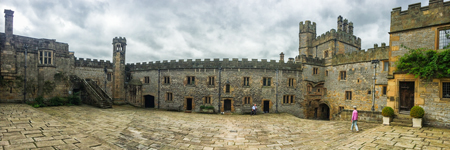
| Take-off, Isle of Barra Airport | Haddon Hall Courtyard | |
 |
 |
|
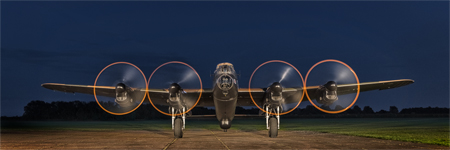
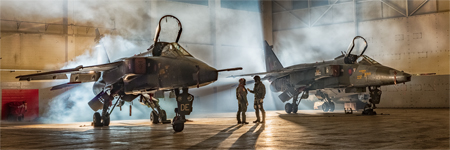
| Avro Lancaster Bomber | Jaguar Pilots | |
 |
 |
|
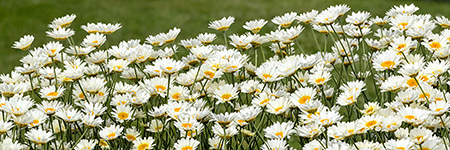
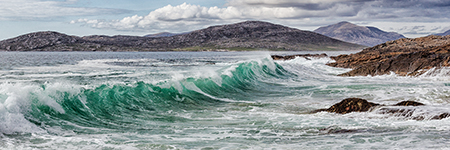
| Sauce Hollandaise Daisies | Incoming Wave Scarista Bay (Isle of Harris) | |
 |
 |
|
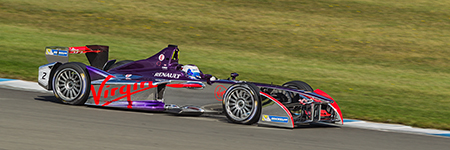
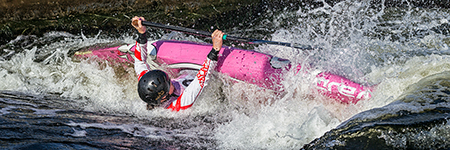
| Sam Bird (formula E) | Lost it! | |
 |
 |
|
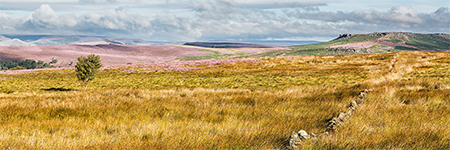
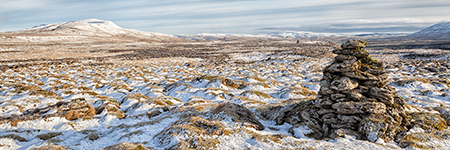
| View Towards Higger Tor | Twistleton Scar Cairn | |
 |
 |
|
| Breaking Reef Wave, Scarista Bay | Winter in Scarista Bay | |
 |
 |
|
| The Red Cuillins in Evening Light | Low Tide at Dawn, Lindesfarne | |
Some of the
panoramic images in this gallery have been produced by stitching multiple
images using Adobe Photoshop CC. Some have been created using an easier way (See below how to do this) |
|